Scoring Engine
Updated on 18.09.25
6 minutes to read
Copy link
Overview
Find rules, machine learning tools, and automated decisioning on the Scoring Engine page. Read about the different parts and tabs of the Scoring Engine page below, or learn more about rules and scoring in our overview.
Scoring Engine tabs
The Scoring Engine houses four tabs that control how your SEON account fights fraud.

- Open the Dashboard for an statistical overview of your applied rules and their performance.
- Head to the Default Rules tab to review the Default Rules included in SEON and turn them on or off.
- Custom Rules enable almost infinite possibilities of customization. Create new rules, edit existing rules, set up rule categories, and more from the dedicated tab.
- Our AI and machine learning algorithms will constantly recommend new AI rule suggestions for you to consider. You can turn them on or off from the tab.
Scoring Engine Dashboard
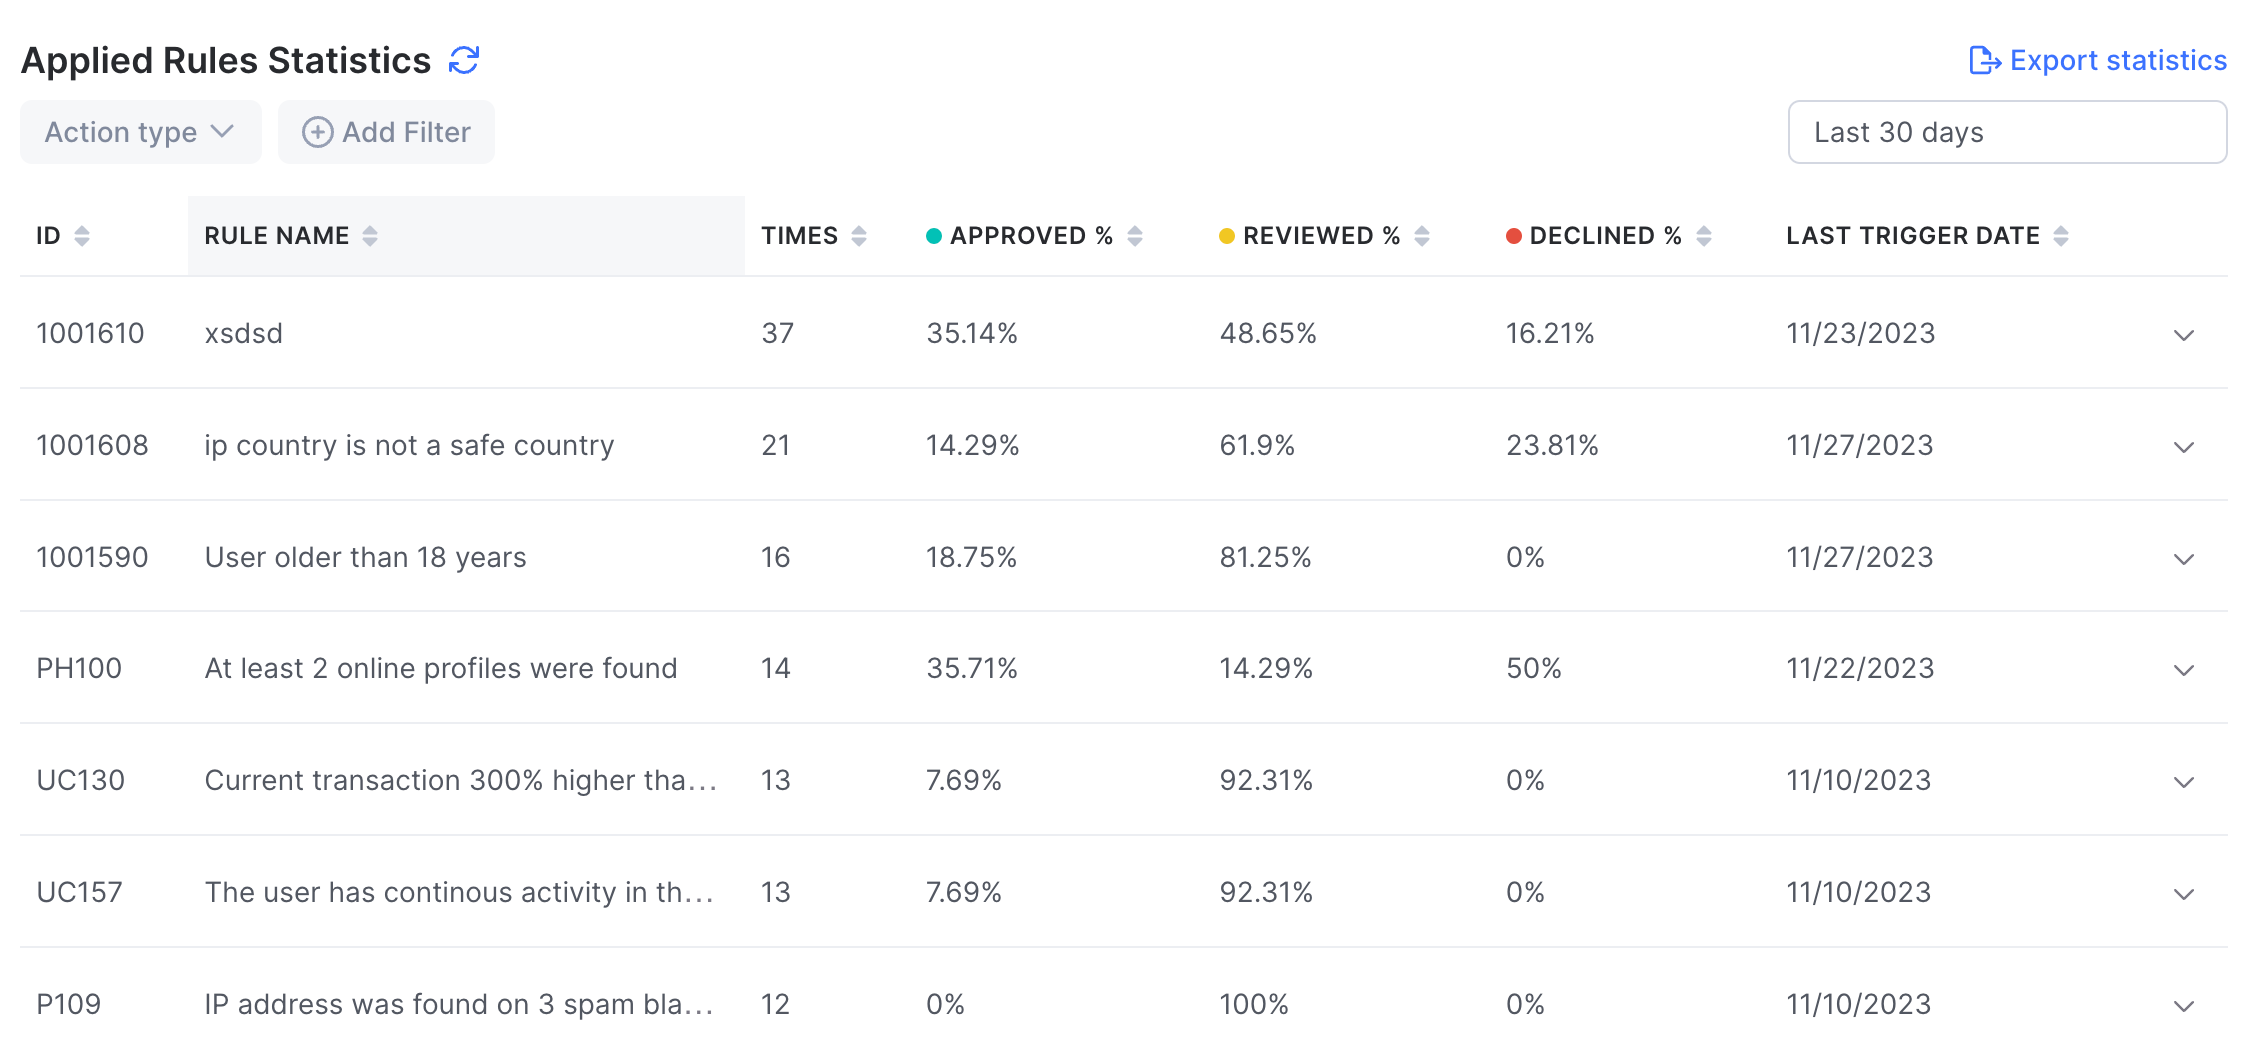
Review which of your rules are triggering most often and how they are influencing your transactions at a glance using the Applied Rules Statistics widget. You can export your statistics using the button in the top right corner and edit the rules using the dropdown next to each.

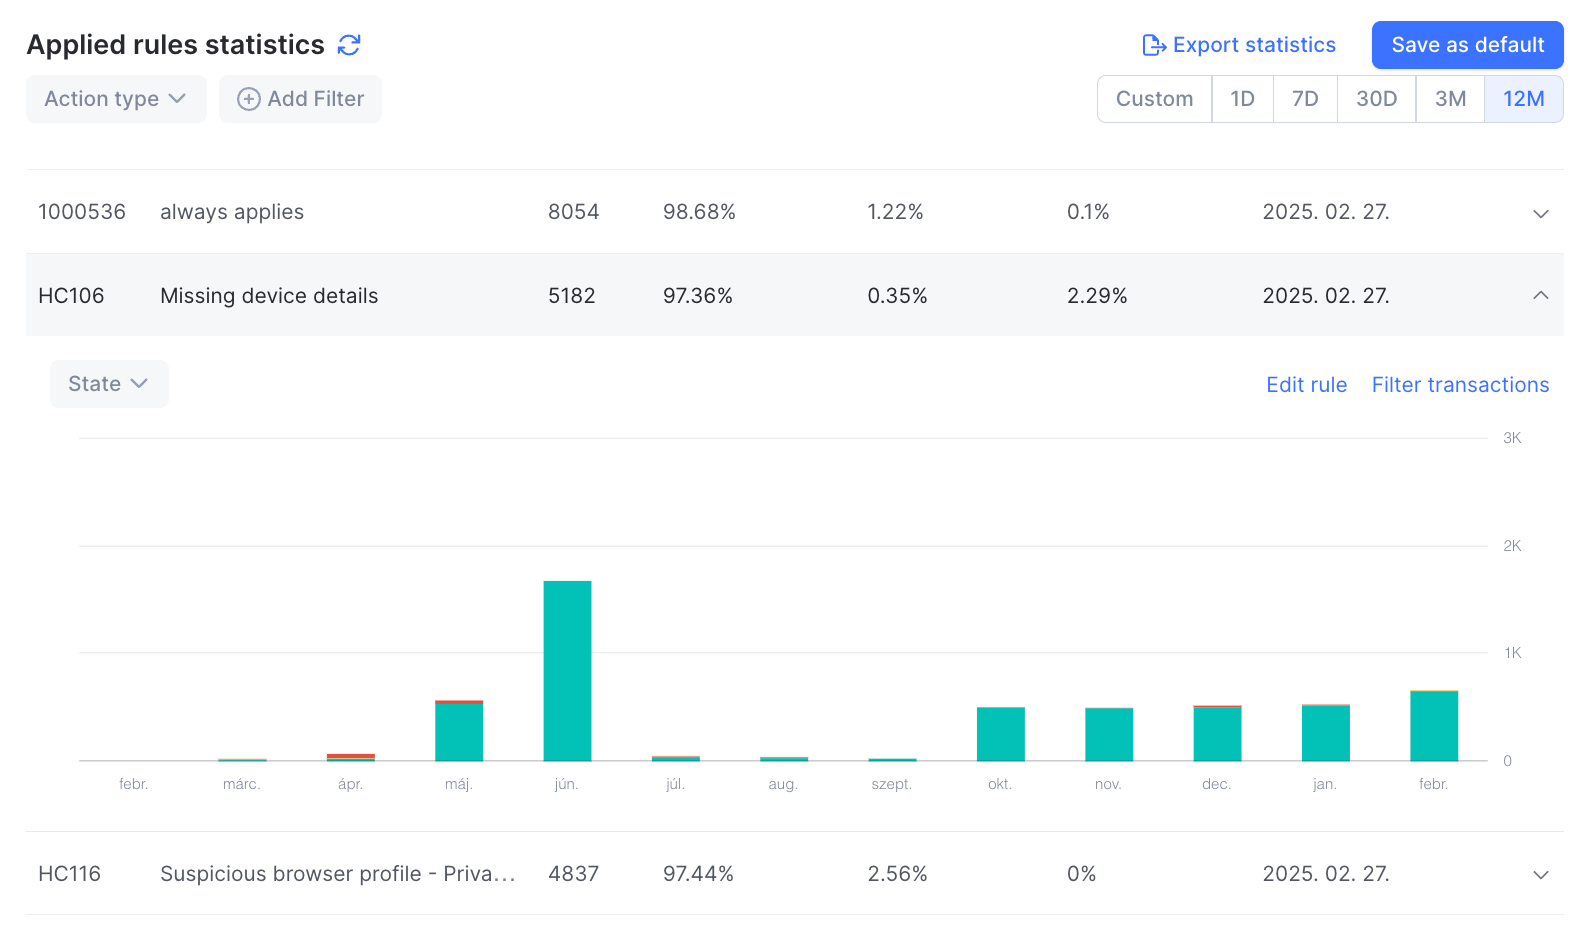
When you click on a rule, you will see a detailed view that will help you easily track the performance of each rule. You’ll see how many times the rule was triggered, and view how many transactions were labeled for review, approval or decline, giving you clear insights into rule efficiency and decision-making patterns.

Understand how your rules are performing using the Confusion Matrix. You can check our page on Understanding a Confusion Matrix if you need support making sense of this data. Adjust the timeframe and base currency in the top right corner to see different snapshots of your data.

Rule type selector
In the Scoring Engine, we divide rules into three types: Default Rules, Custom Rules, and Machine Learning Rules. Click on any tile to see a list of the rules in each category.
Managing rules in the Scoring Engine
Each tab of the Scoring Engine page shows a filtered list of all rules in the selected type. You can find different options on each tab:


- Quick Search
Simpler than using filters, search for a rule using either its name or rule ID. - Rule list
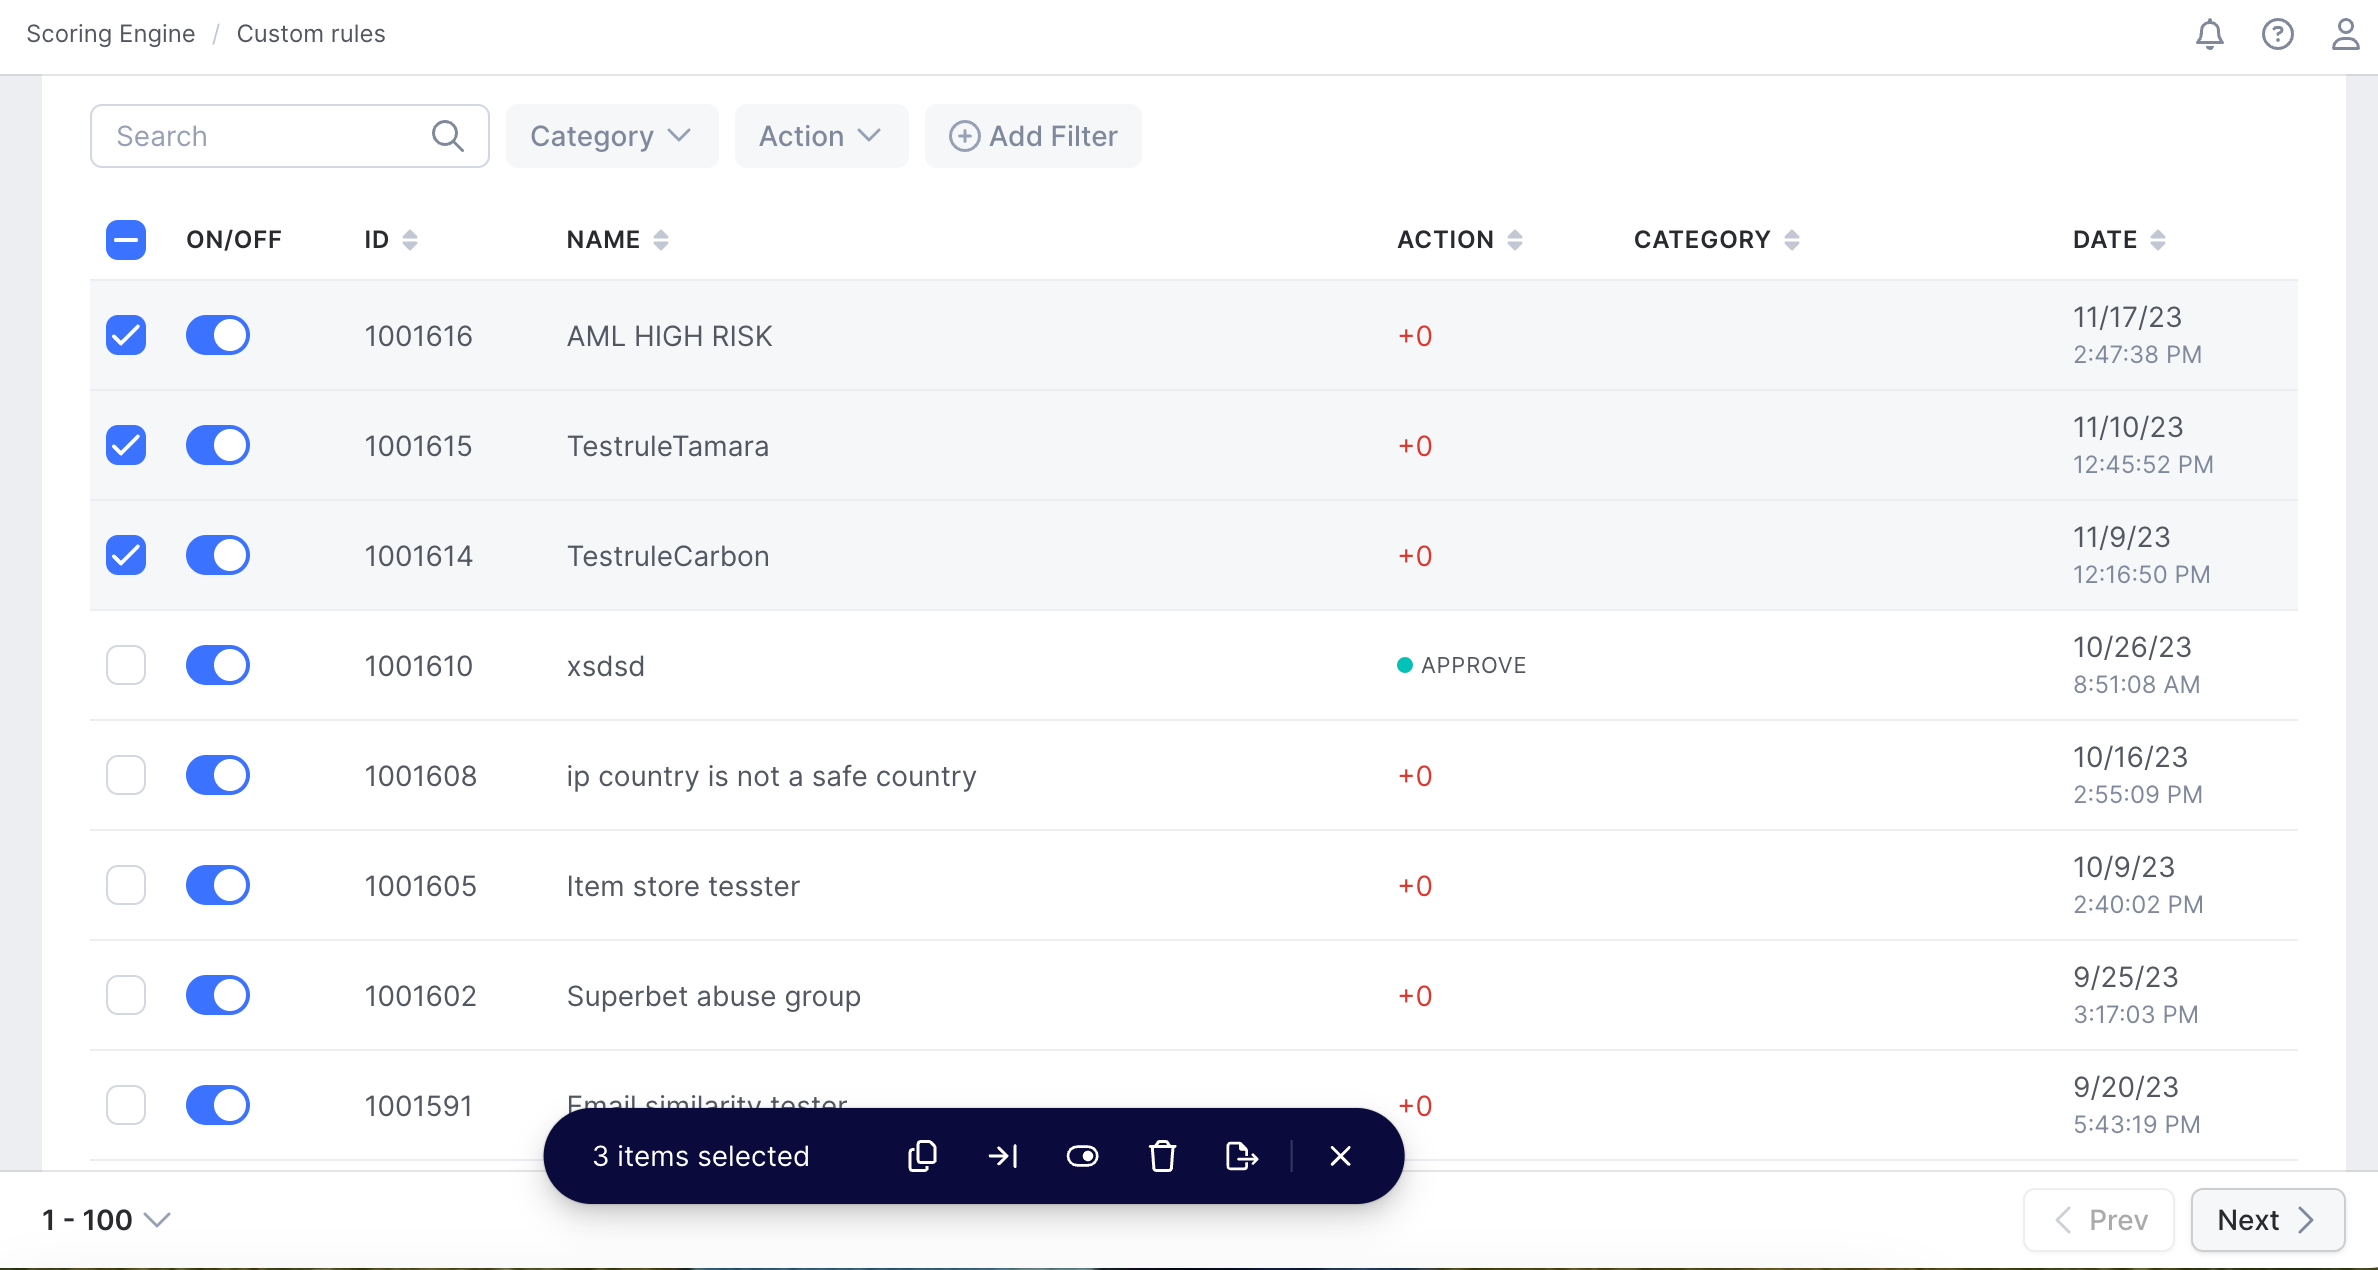
The main field of each tab displays a list of all rules of a given type. The list view includes an on-off toggle switch, the rule ID, the rule's name, its creation date, and action. Click on any rule to edit its logic and action. Quickly turn it on or off from the list using the toggle on the left. - Filtering based on Category/Action
Filter your rule list or add a new filter from the toolbar. - New rule
From the Custom rules tab, you can also add a new rule. - Manage categories
Rule categories are an advanced feature for grouping rules and enabling powerful customization options. Click on a card to filter the list view below to only show rules in the given category. You can edit your rule category by clicking on the three dots on its card. - Export
Download all rules in a CSV file for analysis by your data science or other teams.
Using multi-select
Select several rules at the same time by clicking on the checkbox on the left side of the list. Multi-select options will appear when you've selected multiple rules.

- Copy to custom rules
Create a copy of any rule(s) and add them to your custom rules. Duplicate rules won't be turned on automatically, leaving you free to edit and adjust before they take effect. - Turn On/Off
Use multi-select to turn off several rules simultaneously without clicking each rule's toggle individually. - Move rules to category
The simplest way of populating a newly created rule category is using filters to find the desired rules, then selecting all and moving them into the category using multi-select. - Delete rules
You can delete rules right from the rule list using multi-select, or you can open the rule details and scroll to the bottom of the page. - Export
Export the selected rules as a .csv file for external analysis.
Exclude from rule
You can ensure that certain transactions don't trigger a rule using the Exclude From Rule feature. Each rule has an exclude list to which you can add one or more User IDs, Email Addresses, Card Hashes, or IP Addresses along with an expiration date.

This is useful when your team has verified that a customer displaying a suspicious pattern is a legitimate user, or when you create a rule that would be applied to a user that would be a false positive.
Exclusions can be added to rules in one of two ways: either via manual input, or on the transaction details page.
Manual Input
Click on any rule in the Custom rule list to open the editor. Scroll down to the Exclude From Rule widget and click the Open List button. Review excluded data points and add new ones on this page.
Click the Green plus to add a new exclusion. Select the data field, enter your desired value, and click Load to continue. Finalize the exclusion by clicking Exclude from rule.
Transaction Input
You can also exclude specific users directly from a Transaction Details screen.
When you open a transaction, the Applied rules widget lists all rules triggered by the transaction. Find the rule you'd like to exclude the user from and click the icon showing a crossed-through human silhouette. The rule exclusion page will open, and you can make your desired changes as above.