Lists & Flagging overview
Updated on 21.01.26
3 minutes to read
Copy link
Overview
You can manage all lists in your account from the Lists page, including blacklist, whitelist, custom lists and flagged values. In order to add new values to any list, enter them manually on this page or upload a CSV file under the Batch import tab.
Adding and managing values on lists
- Open the Blacklist/Whitelist/Custom lists tab on the top where you want to add new values to and click Add value in the top right corner.
- Here, you can add your value(s) manually or go to batch import to upload a .csv file. When opting for the latter, you'll be taken to the Batch import tab, but more on that later.
- Add a field type to your value(s) a select which list(s) you want to add it to.
- You can add a comment and an expiration date to the value(s).
- Use the Create more like this toggle if you want to add further values with the same parameters after adding this one.
- When you're done, click Add to list. The value(s) will appear on all lists you added it to.

Editing, moving, exporting, and deleting values
Click the pencil icon next to a value on the Blacklist/Whitelist tab to add or edit the expiration date or comment. Click the bin icon the delete the value.
Tick the box next to one or more values and go to Delete at the bottom of the screen to delete multiple values at once. From here, you can also export the selected values or move them to another list. Choose the list(s) you want to move your value(s) to in the popup window and click Move.

Blacklist
Blacklisting a value will set the score to 100 for every transaction in the future containing the given data point. Only blacklist anything if you are certain that all related transactions are suspicious.
We recommend blacklisting browser hashes, IPs for a limited time (90 days maximum recommended) as well as user IDs, emails, phone numbers and cookie hashes.
Whitelist
Whitelisting a value will set the score to 0 for every transaction in the future containing the same data field.
As with the blacklist, we suggest only whitelisting values that are more specific, such as user IDs, email addresses, card hashes, etc., as some more general data points can cause false negatives (such as an ISP or card’s bank name).
Custom Lists
With Custom Lists, you can watchlist certain transactions and interactions without creating new rules with layers of parameters. Use this tab to monitor accounts, transactions, or users and test assumptions before making any changes.
- Monitor suspicious activity: When you notice a sudden spike in suspicious behavior from a certain location, you can create a watchlist that monitors IPs from that specific area.
- Test assumptions: No need to comb through the logs manually when you need to check something. Filter customers and transactions using the available data fields and save your search as a Custom List.
- Update rules: Once you validate your watchlist, you can easily add a new rule to SEON and assign a risk score to these transactions automatically.
To create a custom list, navigate to the Lists page. Then, switch to the Custom Lists tab and select Create new list. Give your list a name and, if needed, add a unique identifier for easier tracking. Finally, click Create list to save it. After being created these can be referenced in Custom Rules.
Click Manage lists to open a popup window where you can rename and delete lists or copy list IDs (the IDs cannot be modified after you created them).

Batch Import
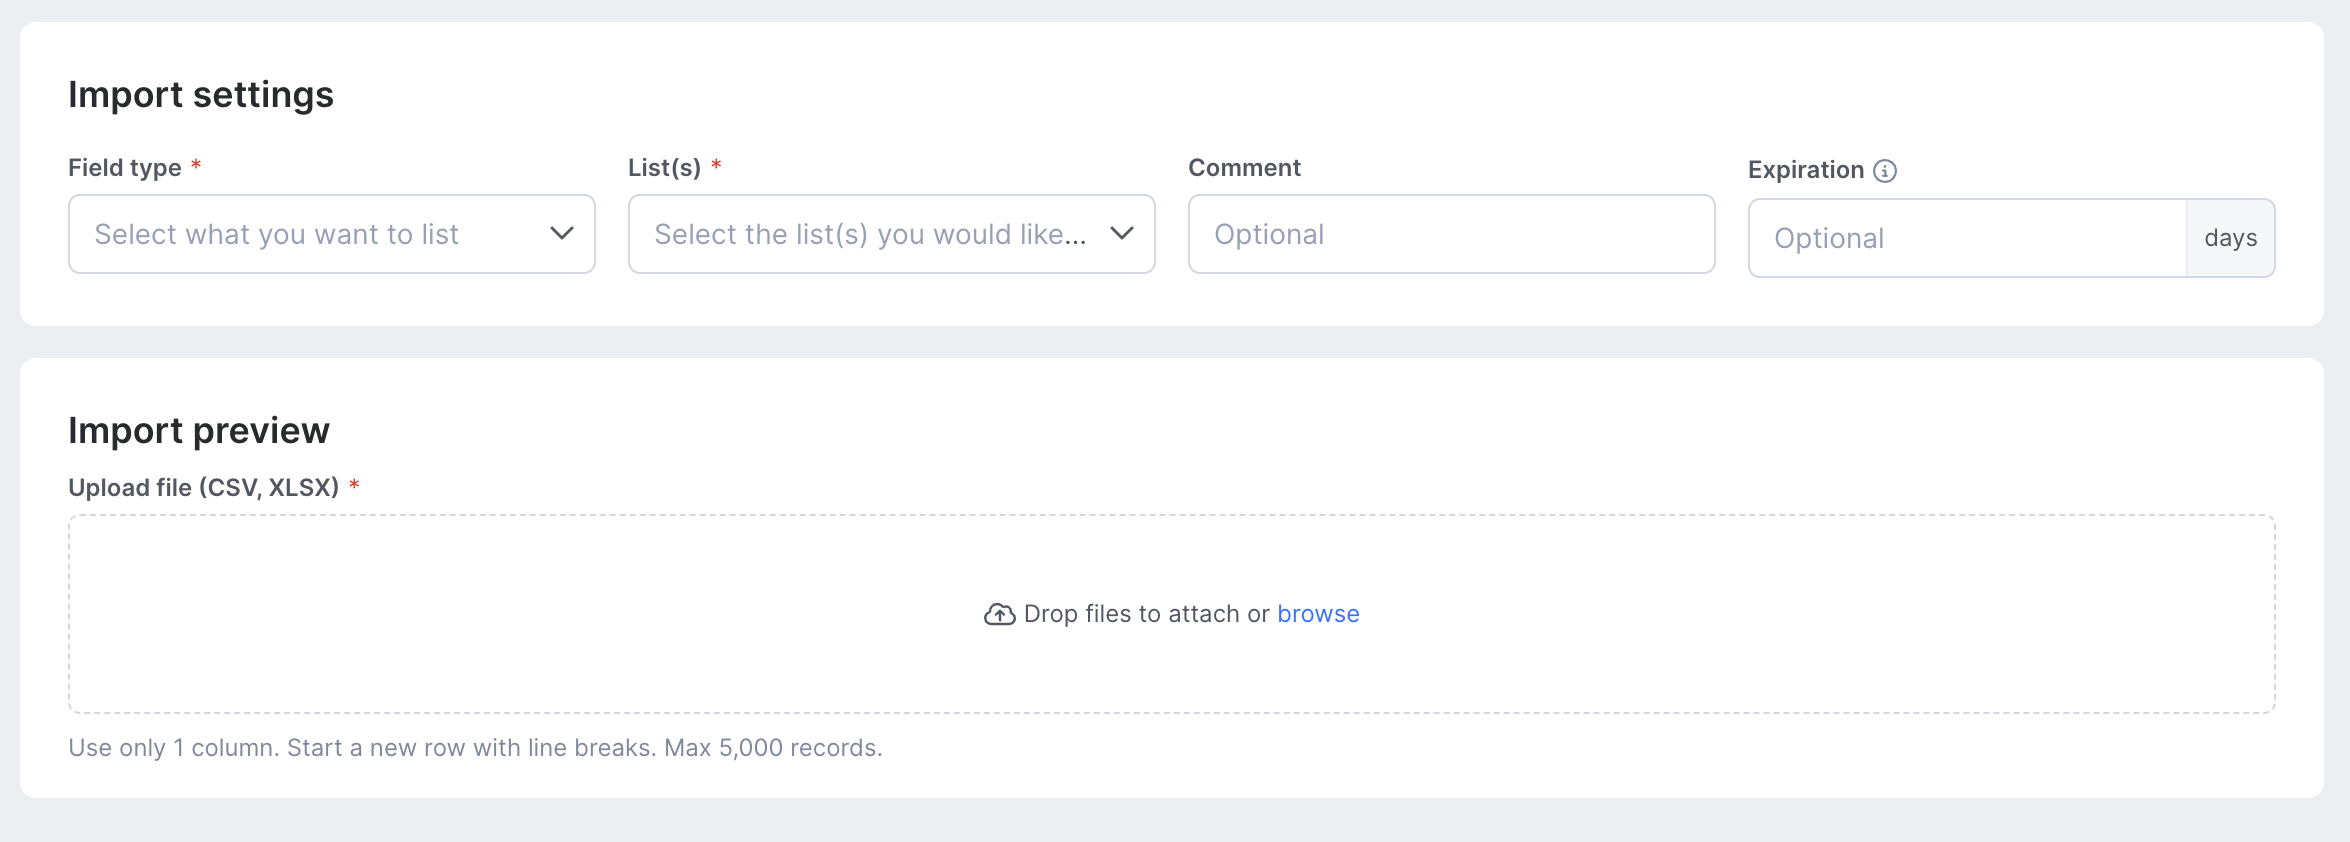
From the Batch Import tab, you can import a .csv file with a maximum of 5 000 values. Upload your file, then select a field type and the list(s) you want to add the values to. You can also add a comment and an expiration date to the values. When you're done, click Add values to list.
Flagging as Suspicious
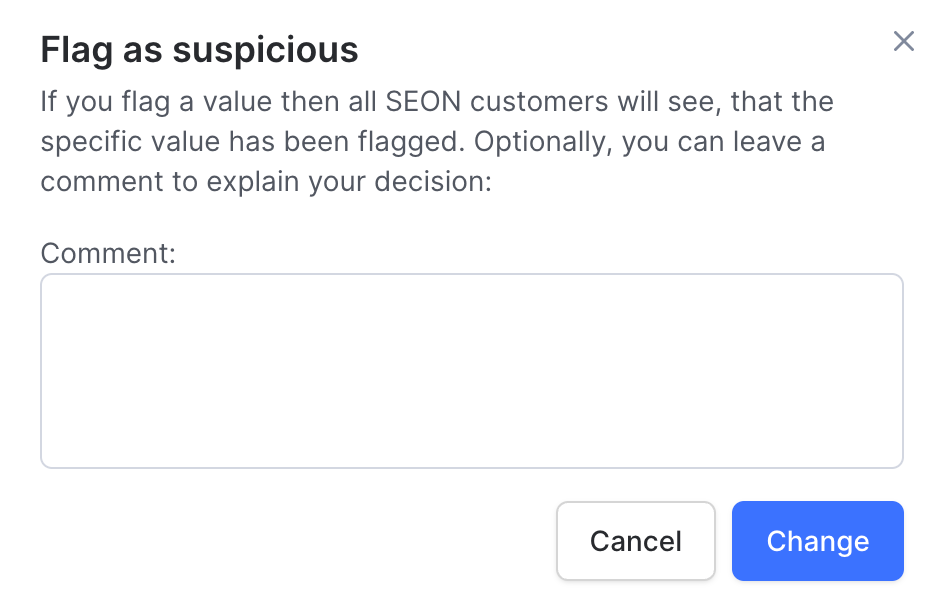
If flagging is turned on, you can flag the phone number, email address, IP address and the browser hash from the Transaction Details page by clicking the “Flag as suspicious” label under the value.
 |  |
 |  |
Flagged values are shared across SEON clients (like a shared pool of suspicious data-points) and can be seen when the value appears in a transaction. Rules can be set up based on these values.