

SSO with Azure AD – Setup Guide
Updated on 24.10.24
10 minutes to read
Copy link
Overview
Properly configured single sign-on (SSO) can be a vital element of your cyber and network security toolset. You can reduce your company's attack surfaces by slashing the services your team has to log in to and the number of credentials they handle.
Set up SSO in SEON to make your fraud-fighting experience seamless and secure.
Using Azure AD with SEON
Microsoft is one of the largest providers of business and enterprise software solutions globally and a major cloud computing provider with the Azure platform. Using the SAML protocol, you can easily configure your Azure Active Directory (AD) to handle your teams' logins to SEON.
Before you start, you'll need admin access to your Azure AD service and your company's SEON account. Visit the Settings page in SEON and double-check that you can access the SSO settings on the Authentication tab before continuing.
Step-by-Step: Setting up SSO with Azure AD
1. Head to Settings in SEON.
2. Open the Authentication tab.
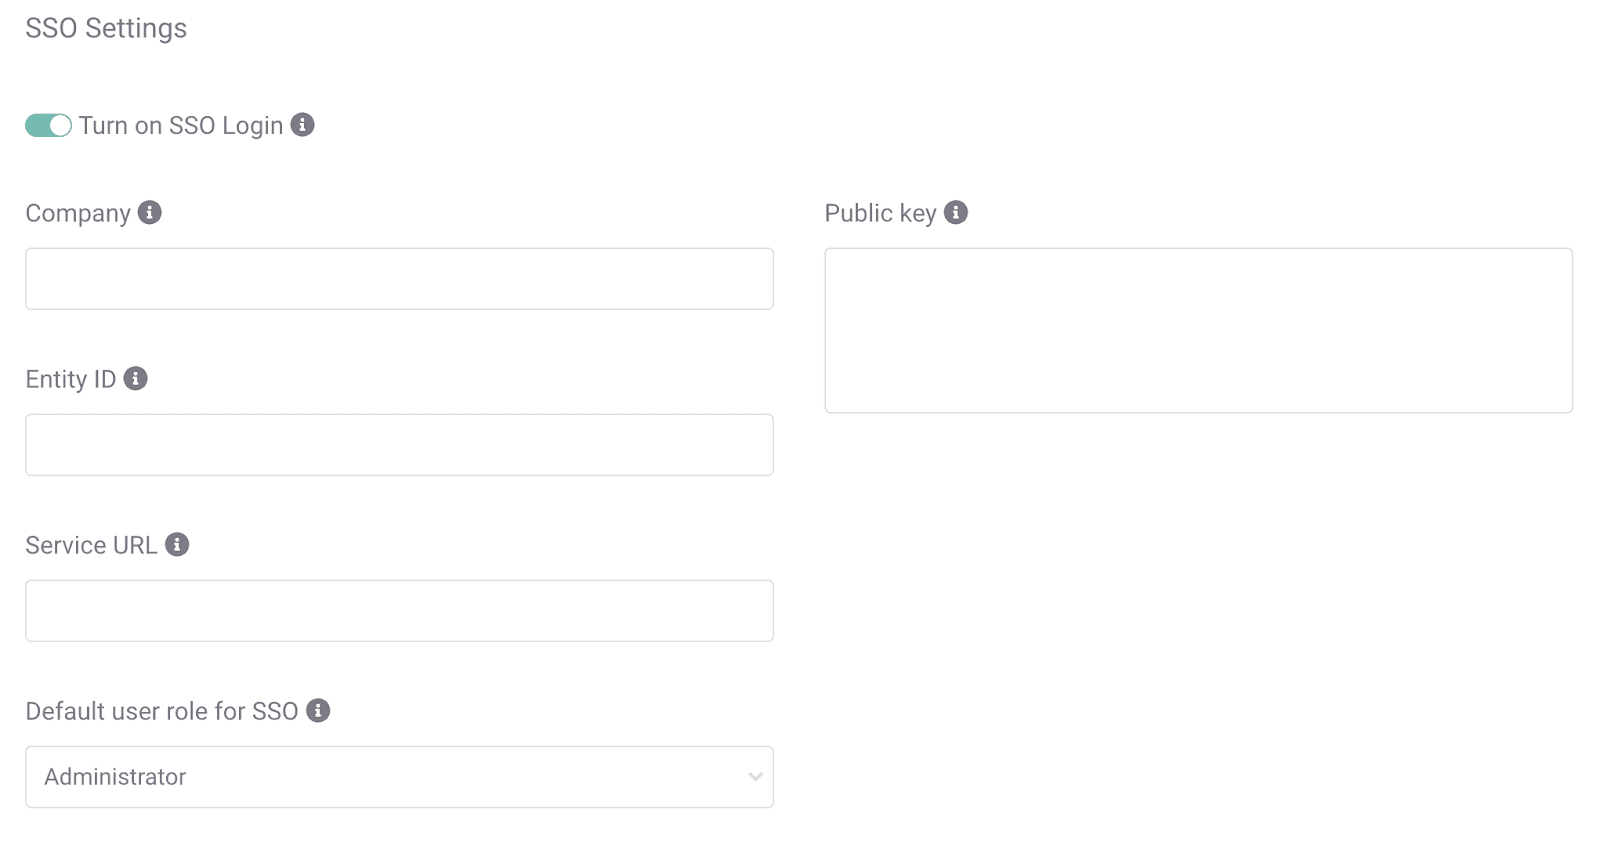
3. Click the toggle next to Turn on SSO Login.
4. Add a name to the Company field.
5. Register a Microsoft Azure account if you do not already have one or log in.
6. Open the Azure Services view.
7. Create a Resource and Choose Azure Active Directory. (It's best practice to create a new environment for every service you want to test SSO with.)

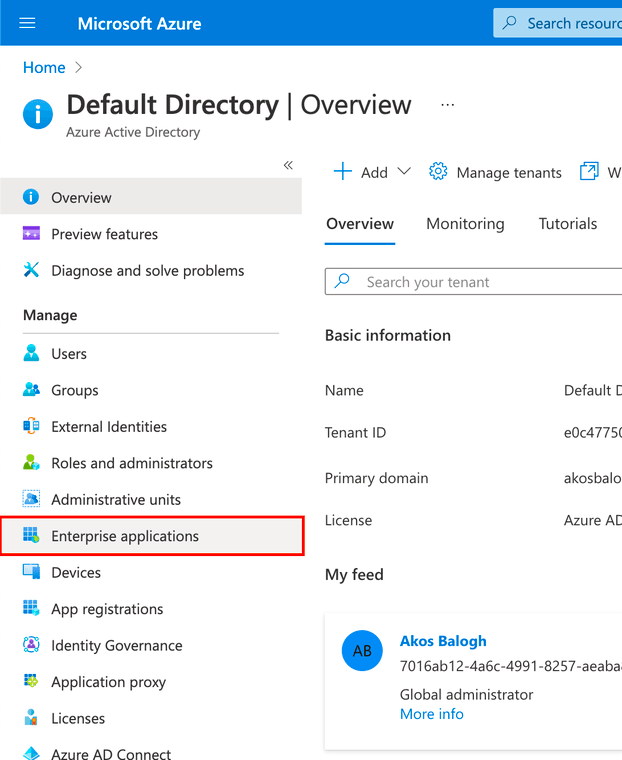
8. Select Enterprise applications in the left menu.
9. Click the New application button to create your first application.

10. Now select Create your own application above the templates offered.

11. Name your application (e.g., SEON) and select Integrate any other application you don't find in the gallery (Non-gallery).
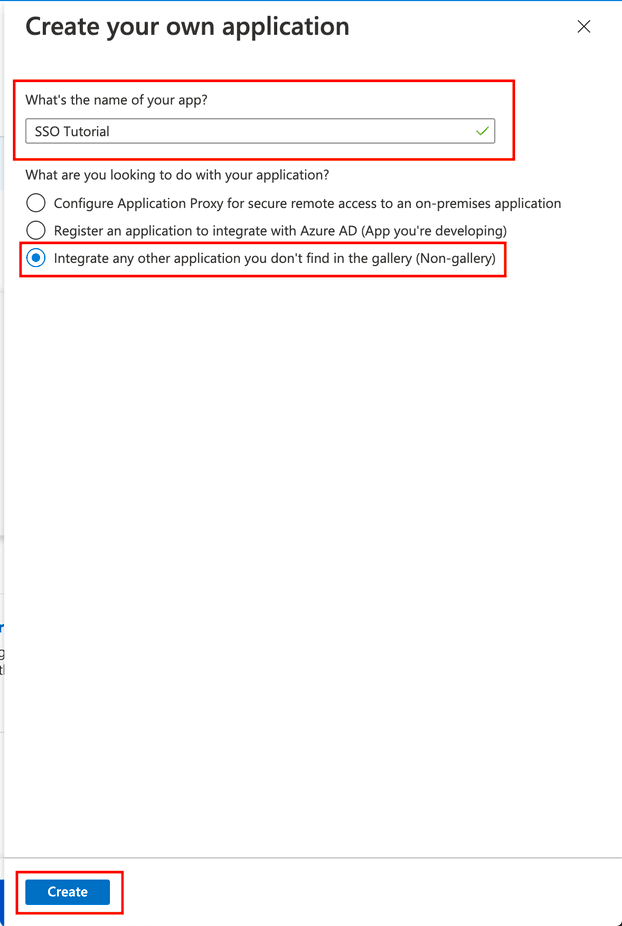
12. Click Create
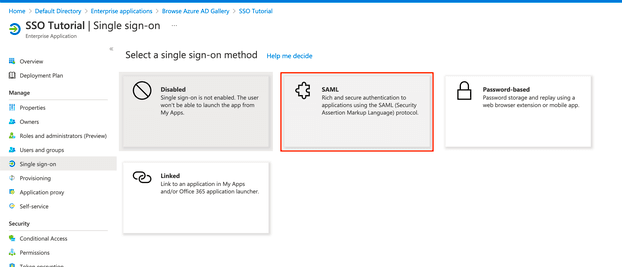
13. Continue by selecting Set up single sign-on within the Getting started section.
14. Select SAML as the protocol.
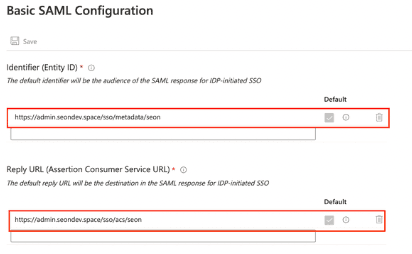
15. Click on Edit in the top right corner of the Basic SAML Configuration box.
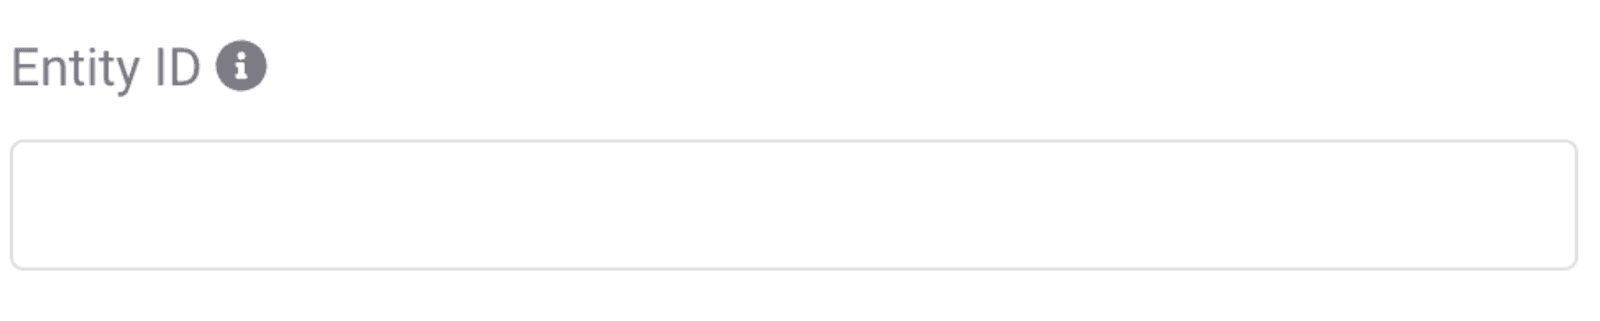
16. Copy the Audience URI below and paste it into the Identified (Entity ID) field.
https://admin.seon.io/sso/metadata/company
17. Copy the ACS URL below and paste it into the Reply URL (Assertion Consumer Service URL) field.
https://admin.seon.io/sso/acs/company
18. Replace the company element of the URL strings with the Company name you set in Step 4.
19. Click Save.
20. Click on Edit in the User Attributes and Claims box to continue the setup.
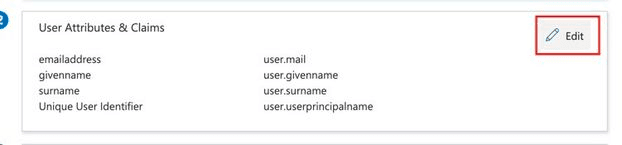
21. Configure the attributes below as needed. You can click Add new claim to create a new attribute. The table below contains all the information you need:
| Claim name | Value |
http://schemas.xmlsoap.org/ws/2005/05/identity/claims/emailaddress | user.mail |
http://schemas.xmlsoap.org/ws/2005/05/identity/claims/givenname | user.givenname |
http://schemas.xmlsoap.org/ws/2005/05/identity/claims/surname | user.surname |
22. Your User Attributes &and Claims panel should look similar once completed.
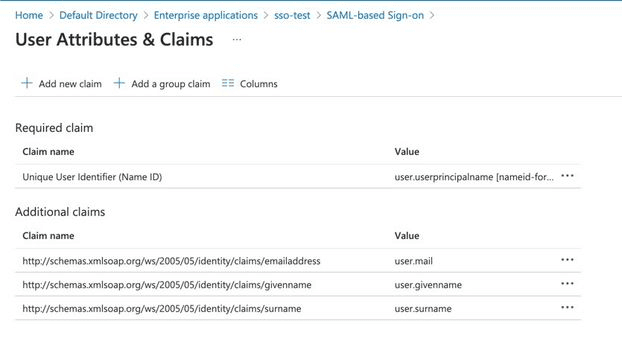
23. Double-check all values. If these are wrong, your configuration will break.
24. Click Save.
25. Scroll down and locate the SAML Signing Certificate box.
26. Find Certificate (Base 64) and click Download.
27. Open the certificate with a text editor of your choice.
28. Copy the Public Key field.
29. Head to the Authentication tab of your SEON Setting page.
30. Paste the key into the Public Key field.
31. In the Azure AD admin panel, find the Set up [Application name] panel. The Application name will be the name set in Step 9.
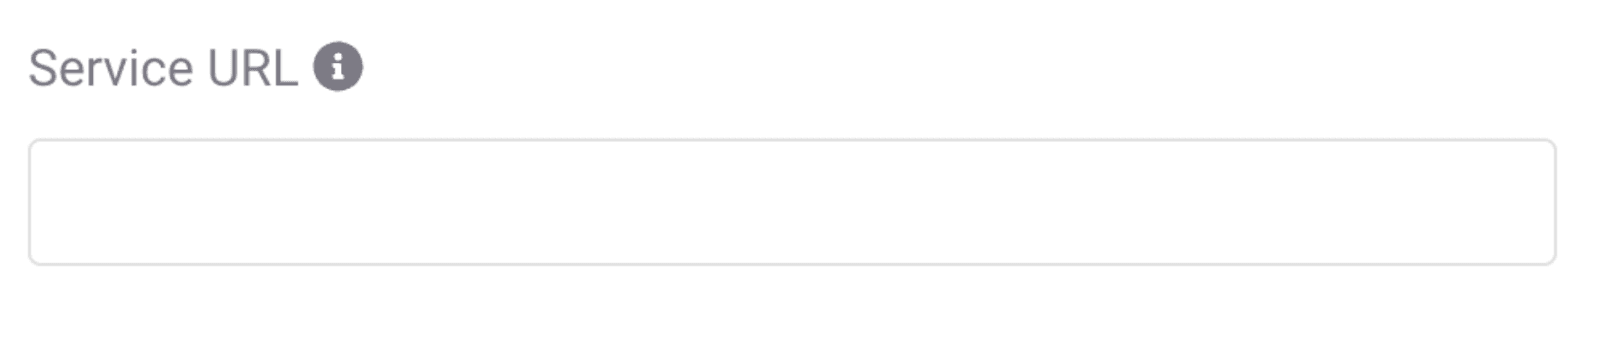
32. Copy the Login URL.
33. Paste the string into the Service URL field of the Authentication tab on the SEON Settings page.
34. Jump back over to Azure AD and copy the Azure AD Identifier URL.
35. Paste the value into the Entity ID field of the Authentication tab on the SEON Settings page.
36. Click Save Settings.
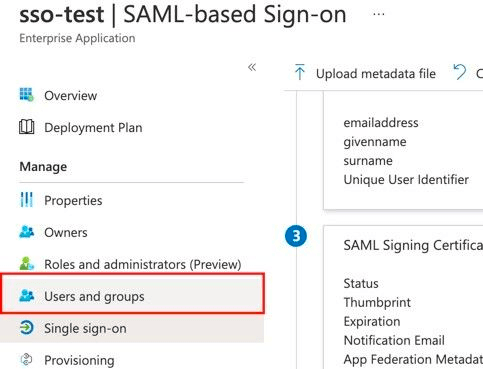
37. You must now add accounts to your Azure AD application.
38. Head to the Users and groups page of your Azure Application.
39. Click on Add User/group.
40. Click on Users.
41. Select the users you want to add on the right slide-in panel.
42. Click Select at the bottom of the slide-in panel.
43. Click Assign in the bottom left corner of the screen.
44. You're done. Now test SSO using Microsoft.