

How to run post-decision automations
Updated on 05.05.25
2 minutes to read
Copy link
Overview
Investigating fraud can take up a significant amount of time and resources. SEON’s post-decision automation helps streamline the process by letting you set up and trigger automated workflows after identifying suspicious activity.
With just one click, you can take action on risky users and events, freeing up your team to focus on more strategic tasks.
Preparing your automation
You can set up your automation either from the Settings page or directly from the relevant pages such as Transactions and Customers when executing them.
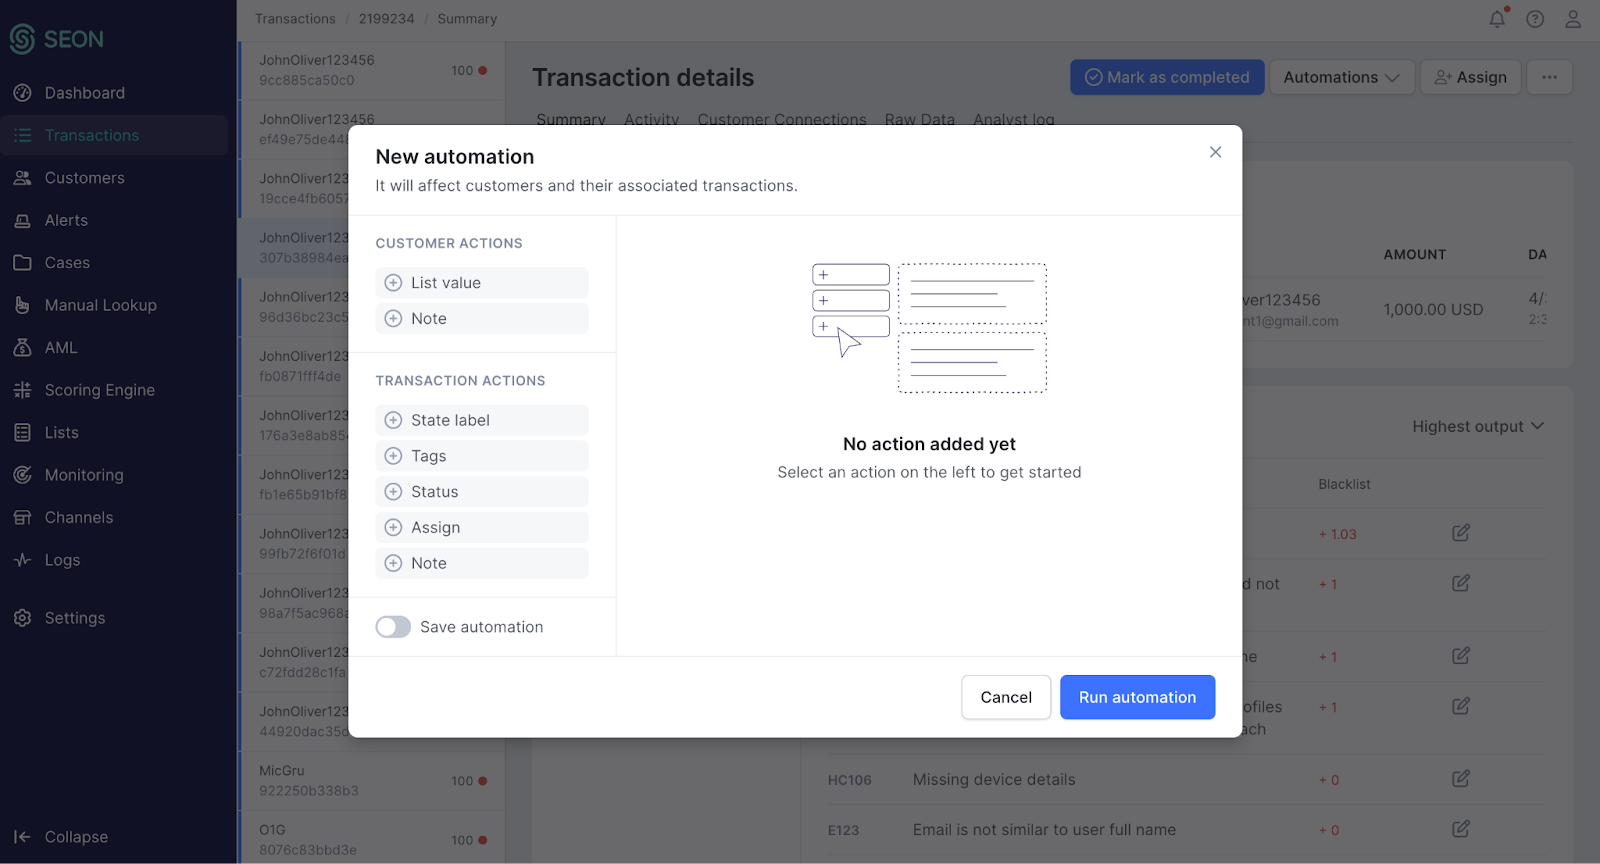
When creating an automation, you can choose from the following actions:
- Listing
- Note
- Label
- Tag
- Status
- Assign
Certain actions also support historical usage, such as labeling past transactions up to 30 days retrospectively.
Some actions, like Listing, can be added multiple times (e.g., to different lists). After you save the automation, it will be visible for all the users in the account with relevant permissions.
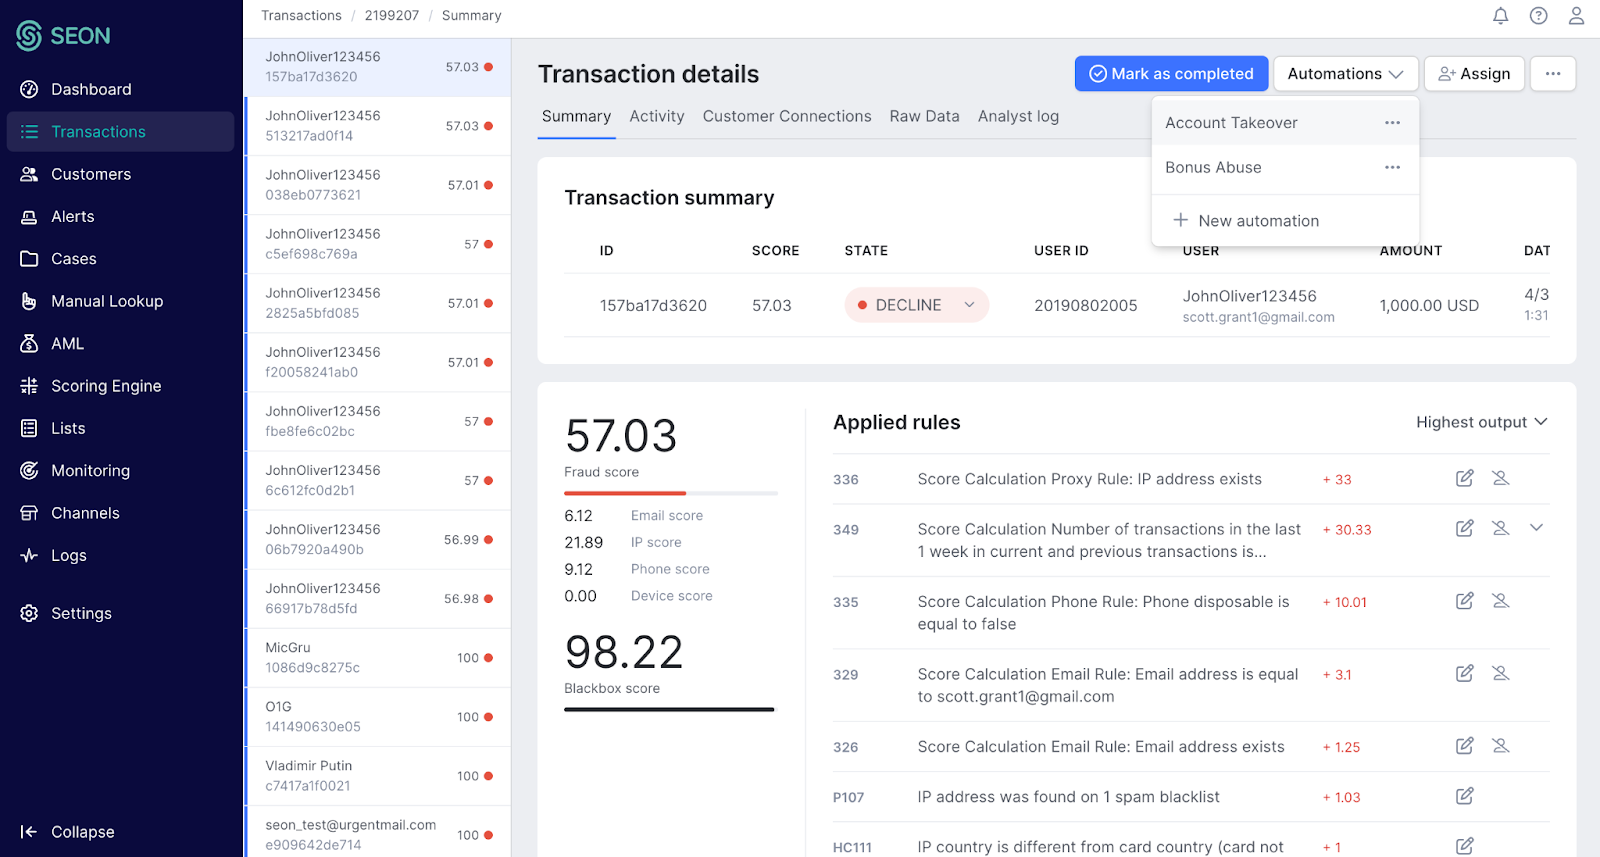
Running an automation
Automations can be executed directly from the Customer List, Customer Details, Transaction List and Transaction Details pages. To run one, simply select the relevant transactions or customers, then choose a saved automation or create one on the spot.
Once selected, click Run to launch it. The execution time may vary depending on the complexity and number of actions included in the automation. You'll receive a notification once the process is completed.
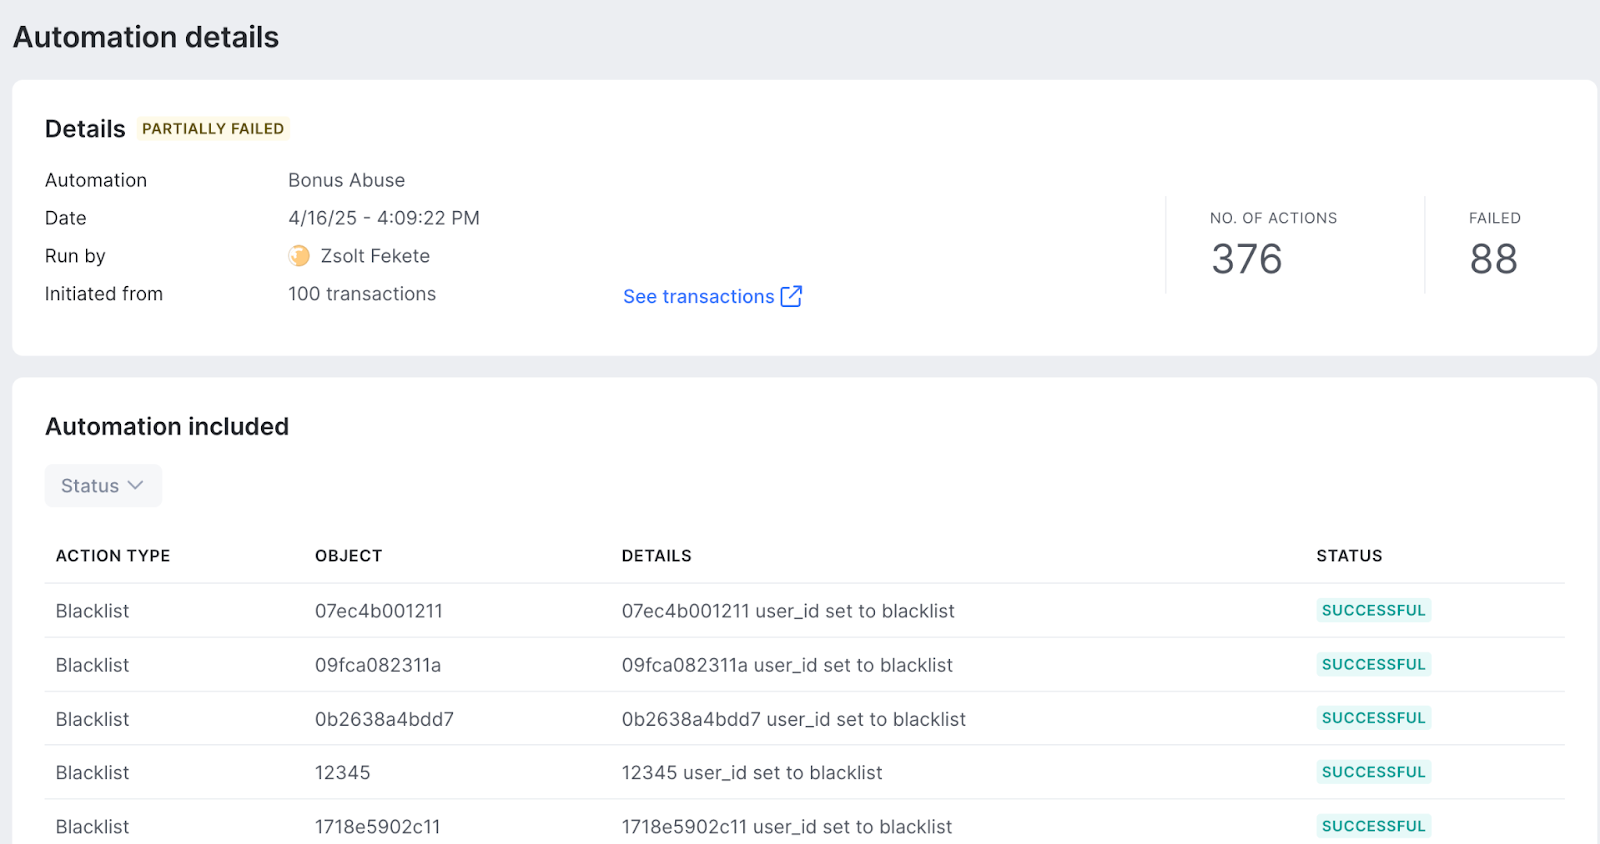
After running the automation, you can review its outcome on the Automation History page. Each automation will display a status indicating whether it was successful, partly failed or failed. By opening a specific entry, you can review every action that was executed along with a description and its status, providing full transparency into what occurred during the run.
We also provide detailed information for each action on the Logs page, next to the corresponding log entry triggered by an automation.