Transactions
Updated on 15.12.25
2 minutes to read
Copy link
Overview
The Transactions page is your central hub for reviewing individual transactions in SEON. The list contains all transactions submitted over API calls or through manual entries. The page will also help you understand high-level trends by showing valuable statistics.
Transactions list
The Transactions list includes customer interactions with your platform that SEON has checked. You’ll find all interactions enriched by at least two of the Fraud APIs’ sub-APIs here, including any manual checkups you’ve run from the Transaction tab of the Manual Lookup page.
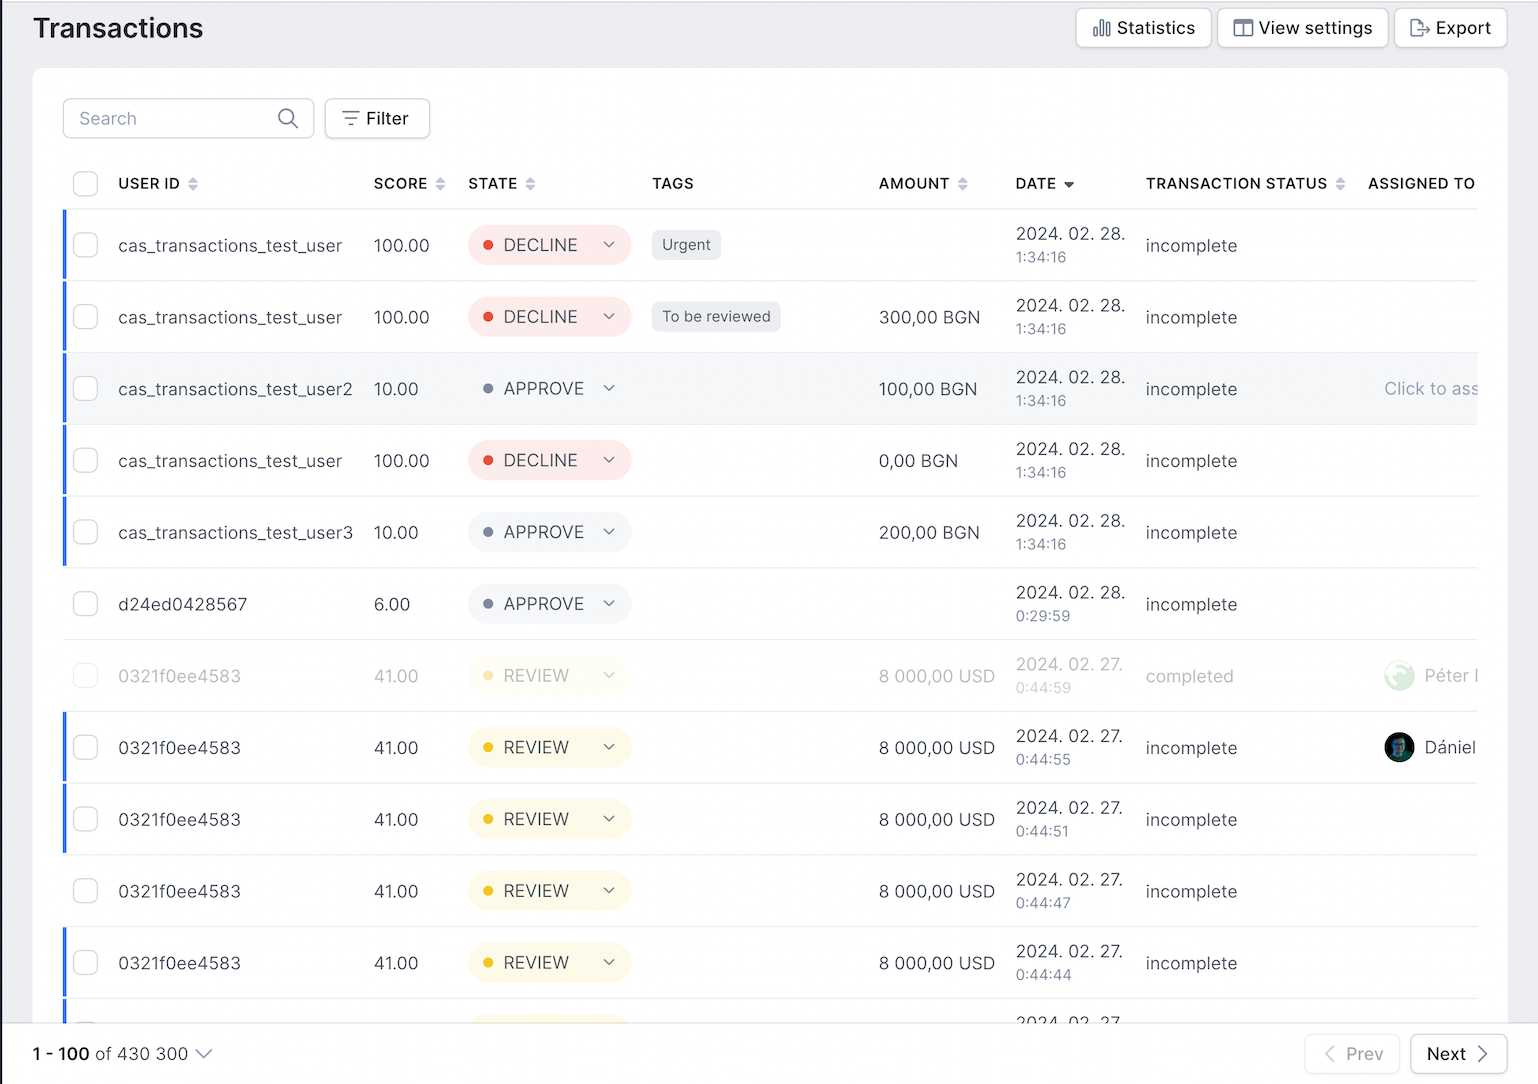
Here, you'll find a list with detailed information on all transactions processed in SEON, including the score assigned to each transaction, the transaction amount and date, state and status or the labels and tags added to transactions.
You can add up to 100 tags to each transaction and will also see tags added by others on your SEON team for categorization and enhanced collaboration and transparency.
Customizing the Transactions list
You have several options to customize the Transactions list. By default, it shows the most recent transaction first. You can easily change the primary sort setting by clicking on the titles of the various columns.
Customize the Transactions list by ordering, filtering, and selecting specific columns. The arrow next to the column title will change to show the current order – ascending or descending.
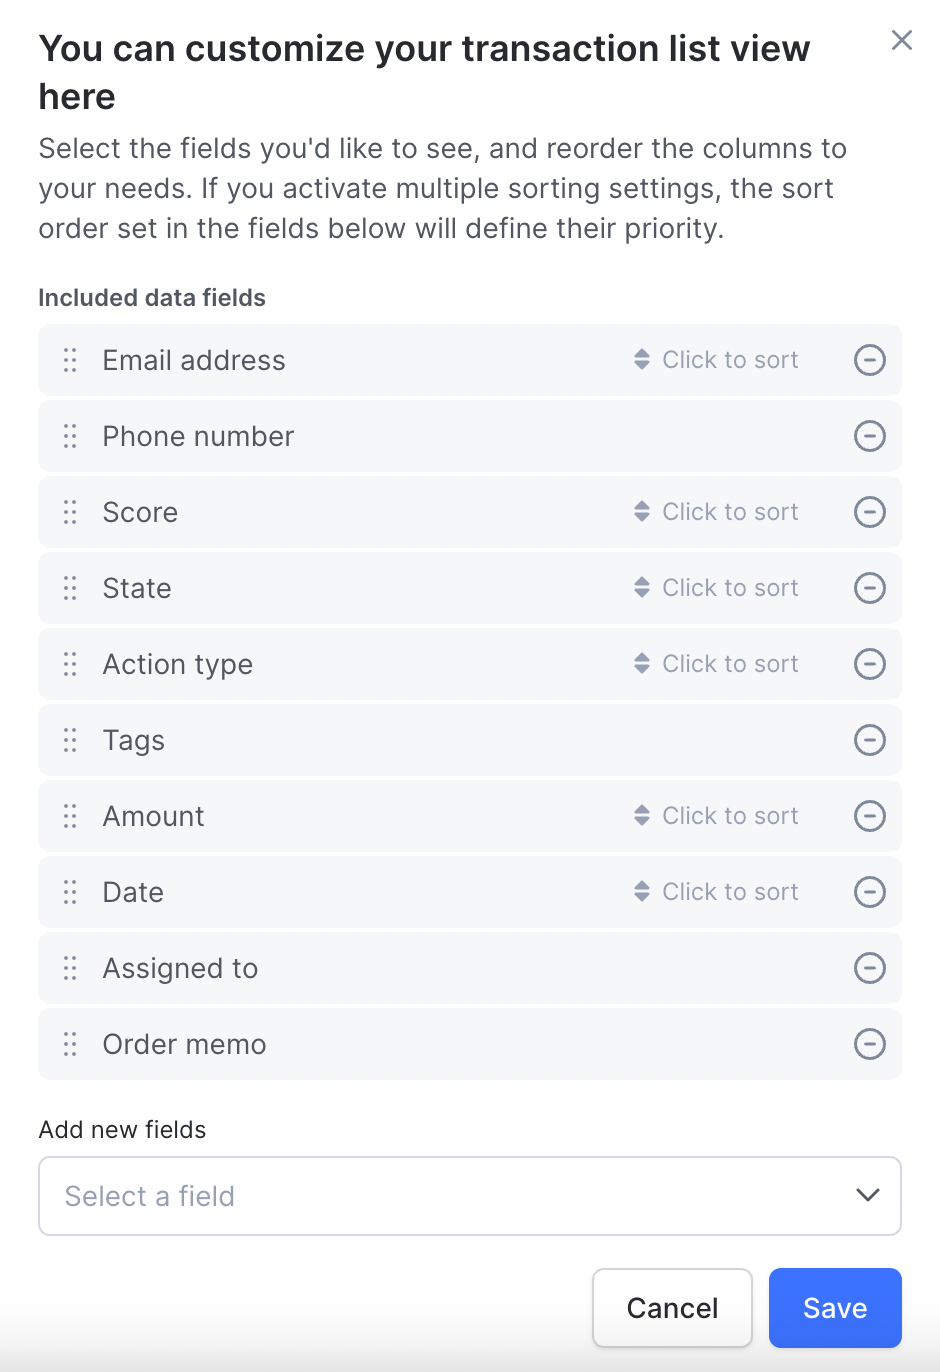
You can rearrange the columns according to your preferences and priorities by clicking the View settings button at the top right corner. The modal will allow you to add, remove, and reorder the columns in your view. You can select any data fields sent over the API or enriched by SEON – even your custom fields can be displayed as standalone columns for a better overview.
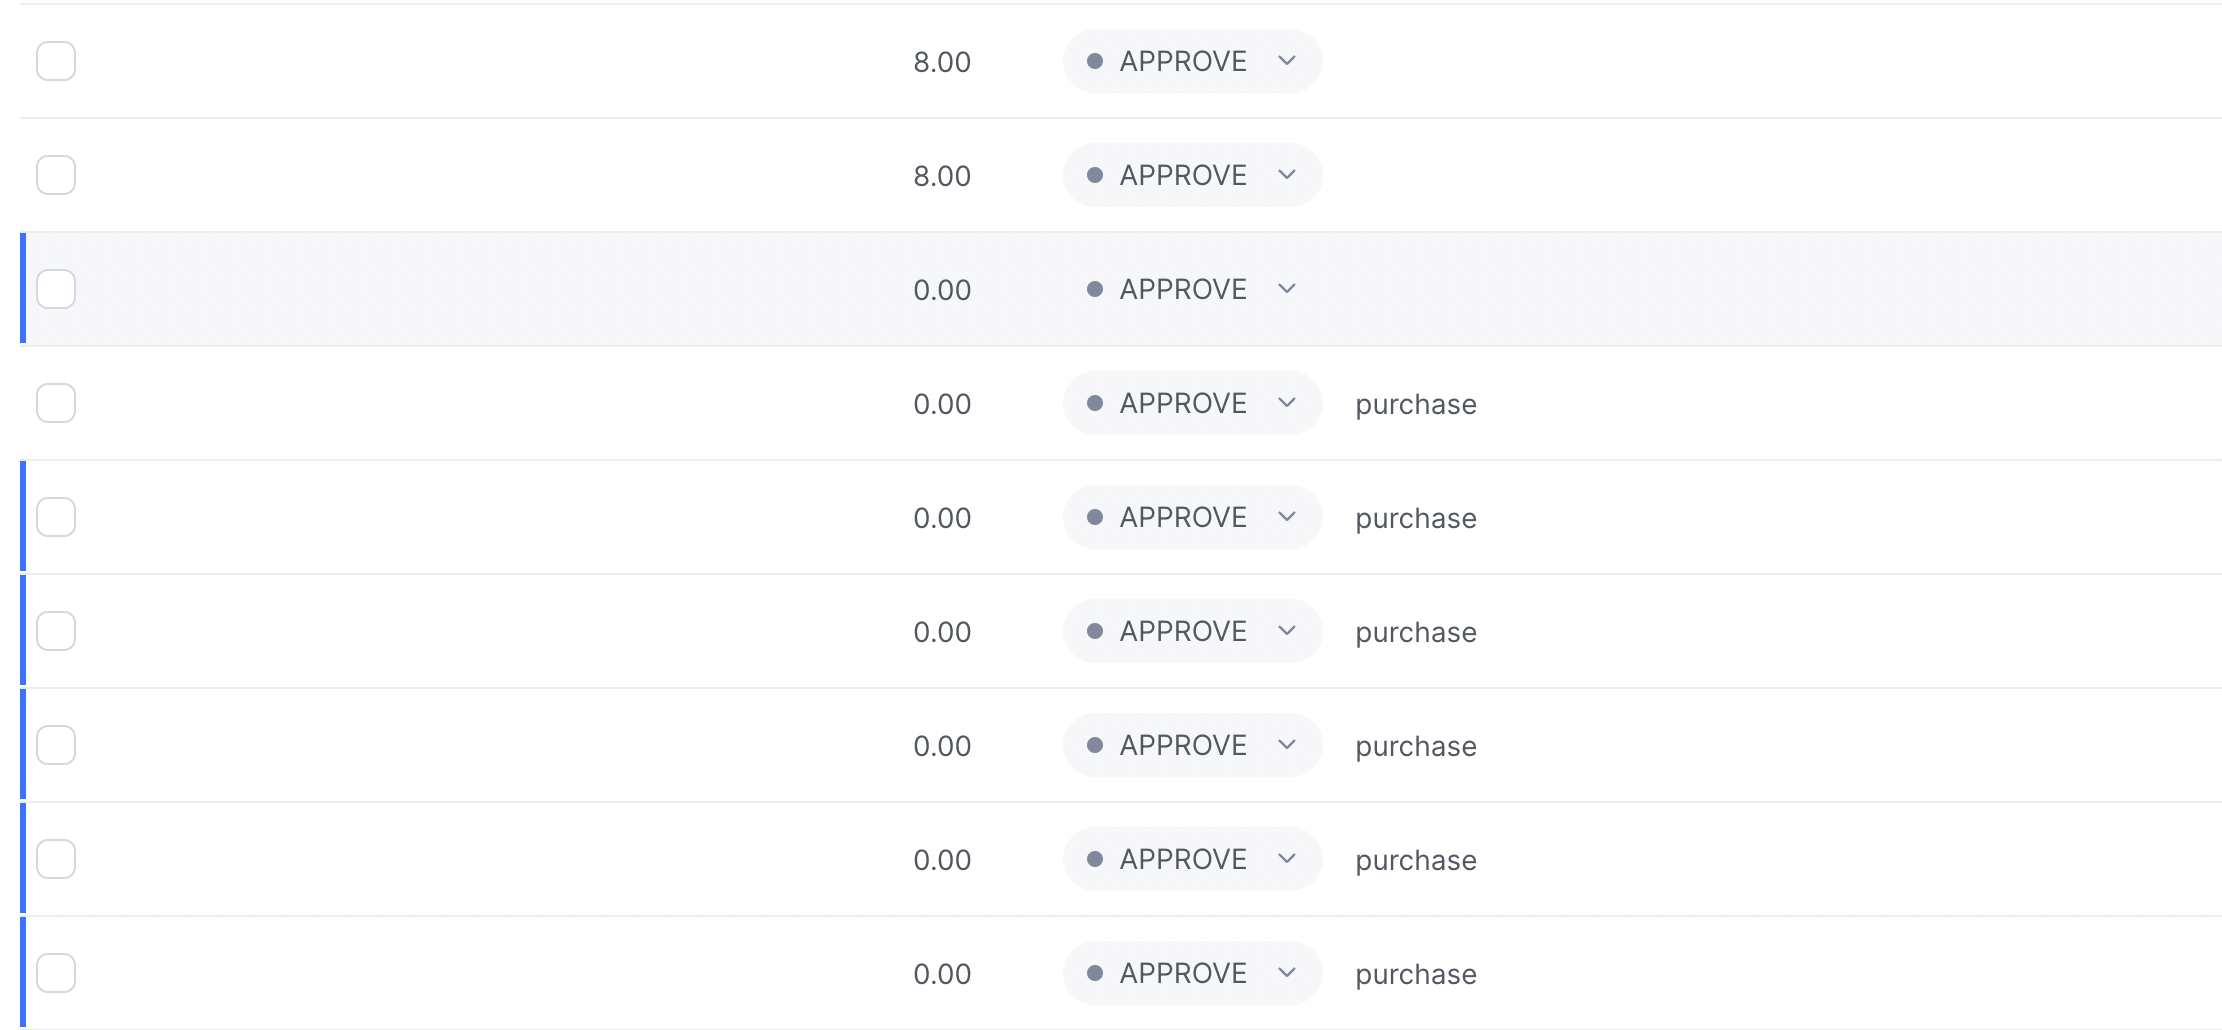
Quickly identify unopened new transactions based on the blue line on the left side of the screen. Someone from your team has already checked the transactions shown in grey.
Click on any transaction in the list to open the transaction details view.
Quick search and filters
Use the search function to quickly find a single transaction or transactions connected to a single user. Filters and advanced filters will let you uncover similar transactions and trends to help you prevent fraud.
Search

Enter a user ID, email address, transaction ID, or username into the quick search field to find a single transaction or multiple transactions connected to the same user. The search feature only collects data matches in these four fields. To find transactions based on other characteristics, use filters.
Filters
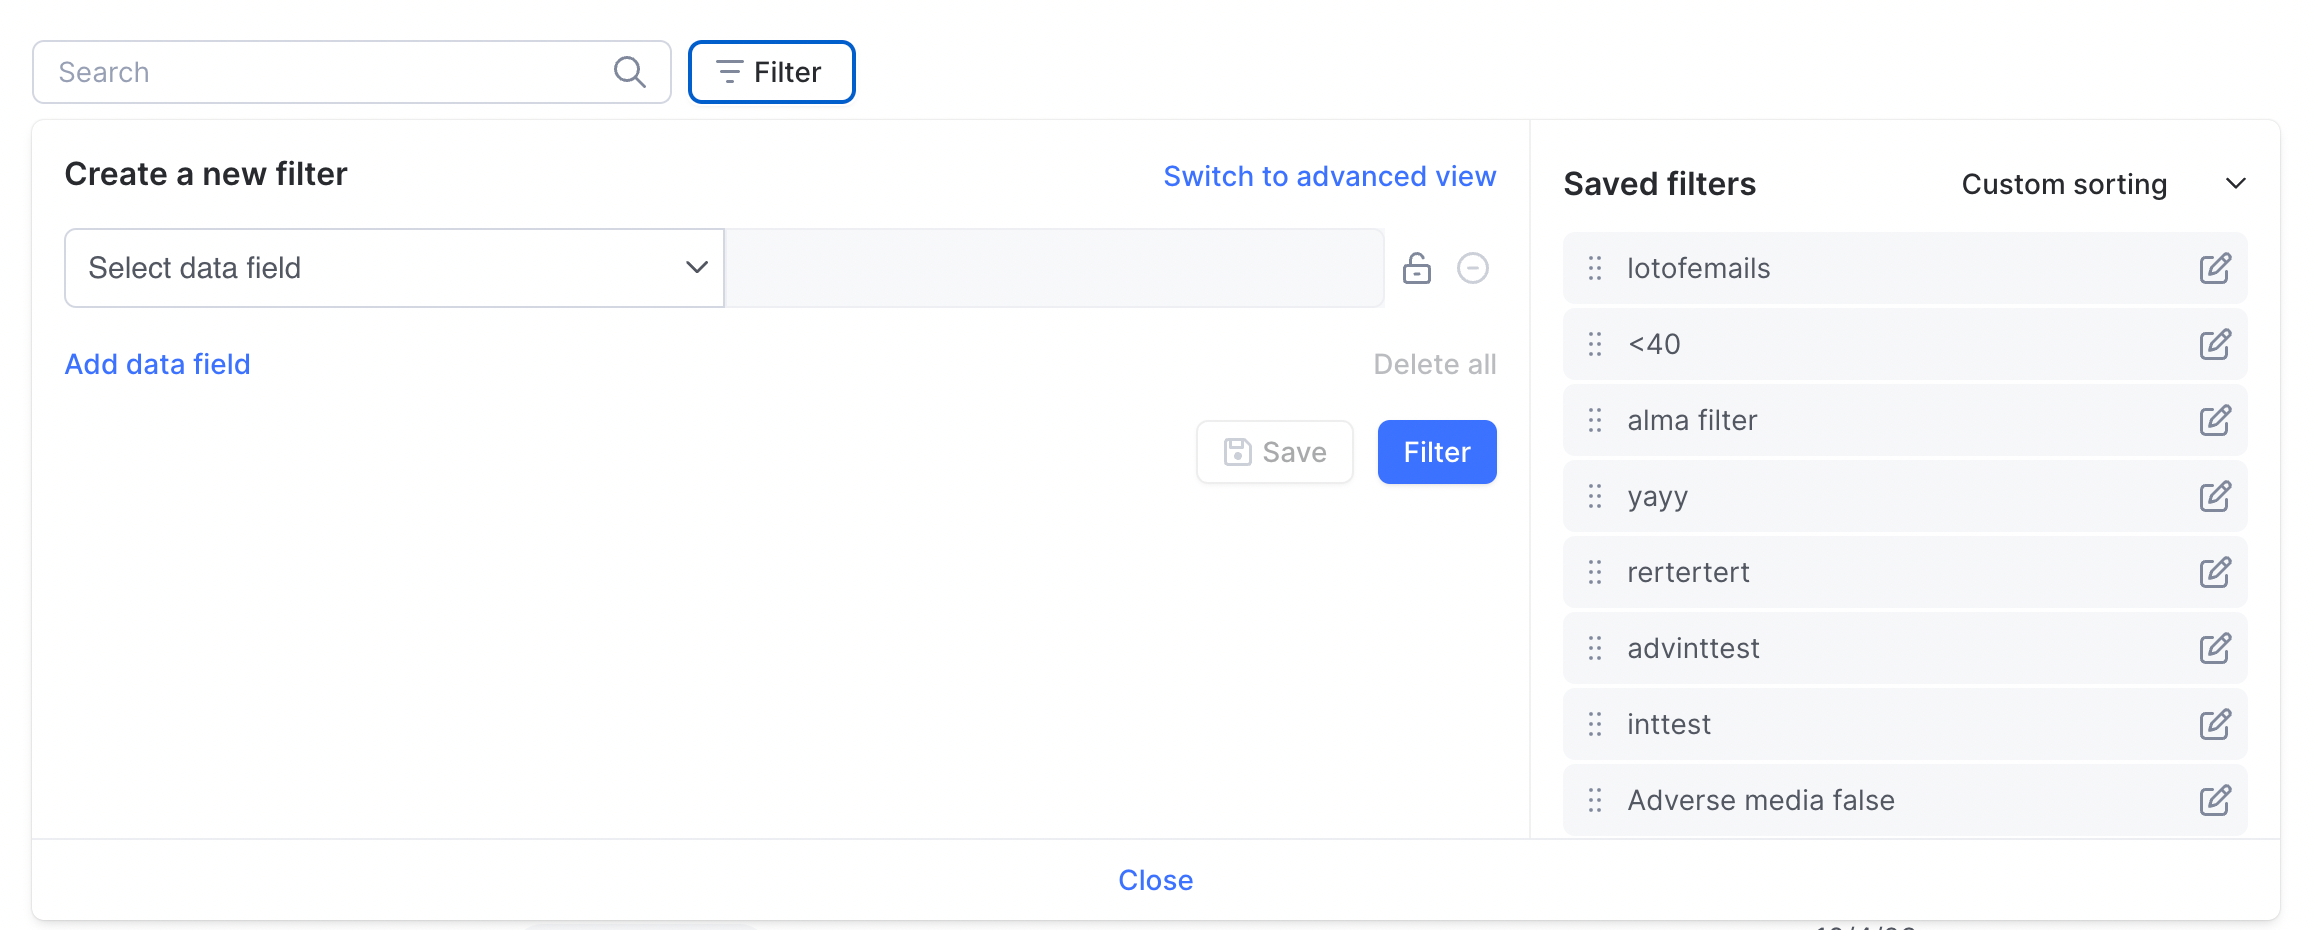
Filters can help you connect similar transactions and uncover trends that would otherwise stay hidden. You can even use simple filters to find single transactions using data fields not supported by quick search.
The widget is divided into two sections. The left side is where you can create new filters. The list on the right side shows all your saved filters.
Your filters can use several different operators to find transactions easily:
| Operator | Explanation |
| is equal to, is not equal to | Searches for an exact match between two values |
| is greater than, is less than, is greater or equal to, is less or equal to | Used to compare two integers or numbers |
| contain, does not contain | Searches for an exact string within another one |
| exists, does not exist | Searches for any value that is present in the chosen field or the lack thereof |
| is either, is neither | Searches for an exact match (or the lack of) for any of the chosen values in a field. You can search for a list of values by separating them with commas |
Basic filters by default work AND attributes: you'll get a list of transactions where all the set data fields are applicable. Switch to advanced view to set up more complex filters where you can add OR attributes, meaning that you'll get a list of transactions where either one or the other data fields/groups are applicable.
Toggle existing filters on and off from the list– you can even select multiple and combine them. You can set the logical operator of the combined filter using the drop-down menu above the saved filter list.
Click the Deactivate Filter button on the widget or the cross mark next to the filter in the ribbon at the bottom of the screen to turn a selected filter off.
To edit a filter, click on the icon to the right of the filter's name. Make any modifications needed, and then click Save to confirm your changes. You can revoke your changes by clicking Cancel.
Updating transaction states
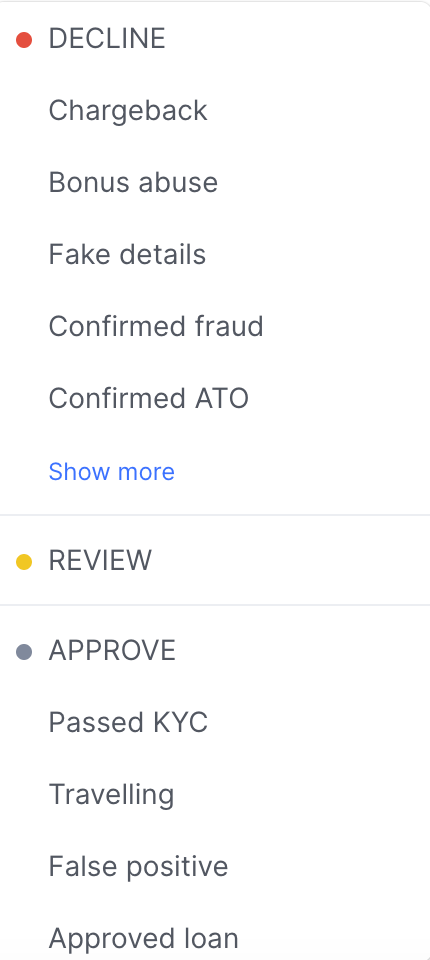
You can easily change the state of any transaction from the list view by clicking on the state icon.
The drop-down menu will include the three default states (Approve, Review and Decline) and any labels you have set up. Manual reviews and labels provide essential feedback to our machine learning solutions.
Multi-select
Click the checkbox on the left to select multiple transactions and edit them simultaneously. The multi-select options will appear in the gray bar at the bottom of the screen.
Use the Export Selected button to download only the selected transactions. Use the drop-down on the right to change the state of several transactions. The menu also includes all labels created for your account. Click Apply to save any changes.
Statistics
You can find a selection of useful statistics connected to your account at the top of the Transactions page. Click Statistics to open the widget.

The widget contains the total number of transactions, the total of their values, and information about overall fraud scores and category scores. You can change the currency used by clicking on the field that shows All (Base Currency) or the name of the selected currency.
The statistics widget is filter-sensitive. It will display data on the transactions currently shown in the Transactions list. To recalculate the values, click the refresh icon in the top right corner of the widget.
Data exports
You can export the Transactions list for external analysis with up to 400,000 rows in the file.
Click on the Export bottom at the top of the screen. Your email address will be set as the delivery address automatically, but you can change it if needed. Selected whether you'd like a CSV or XLSX file, choose if you want to export all columns or select the columns you'd like to include, and hit Export.
On the Export history tab, you can view the history of all exports tied to your SEON account, created by any user, and re-download the files as needed. Only exports relevant to the current page are shown (for example, Customer exports on the Customers page and Transaction exports on the Transactions page).
Use multi-select to export only certain transactions. Click the checkbox next to the desired transactions and then the Export selected button from the bottom toolbar. To export a filtered list, apply the chosen filter and hit the select all checkbox in the header row, and then click Export selected.
Learn more
As the central hub of your fraud-fighting efforts in SEON, the Transactions page can provide you with essential information and functionalities you'll find helpful.